
 Skip to content

Customize It … DIY Copper Knobs
In my old dining room, I had these cute built-ins with these stupid huge knobs (no before photos, sorry) so I asked my friend Samantha, (you may remember her from Oh Joy’s Studio project) to see if she could do a DIY for them. I wanted something that wouldn’t cost too much money as it was a rental so no point in throwing dough into it. While I love a lot of knobs out there (Anthropologie and West Elm both have great ones) they can often be like $12 each and we had 4 of these built ins, with 14 knobs each which equals like $22K. So, Sam came up with these simple, inexpensive but incredibly chic copper fronted knobs … And then we redid my built-in (like just weeks before we moved out … whoops).
Alright so here’s what you’ll need:
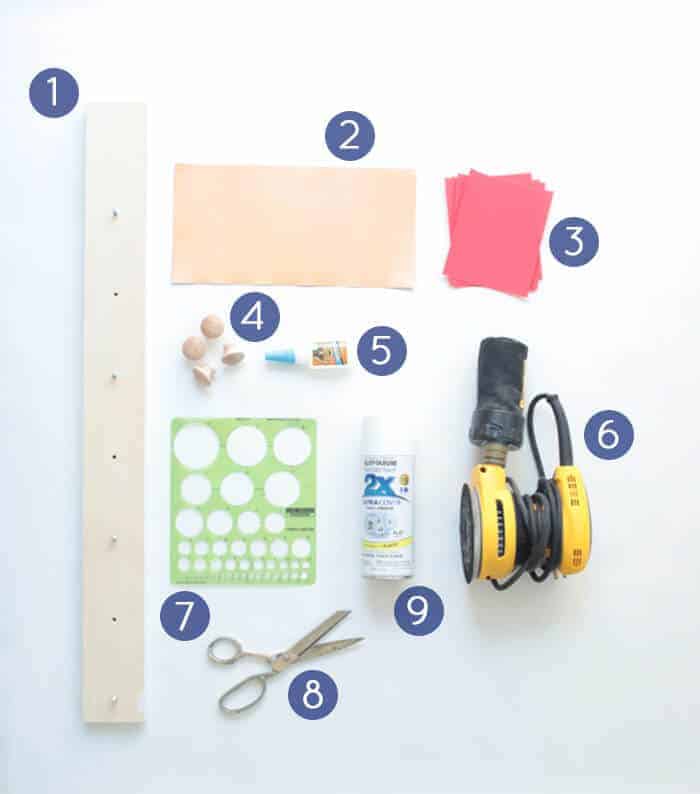
1. Scrap piece of wood and screws, 2. 5 Mil copper sheets, 3. Sand paper sheets (60 grit for palm sander, 220 grit for hand sanding), 4. Wooden knobs (if you can find knobs with a flat face, get them! I could only find knobs with a slightly domed face, which made sanding necessary), 5. Super glue, 6. Palm sander, 7. Circle template (optional), 8. Scissors, 9. White spray paint
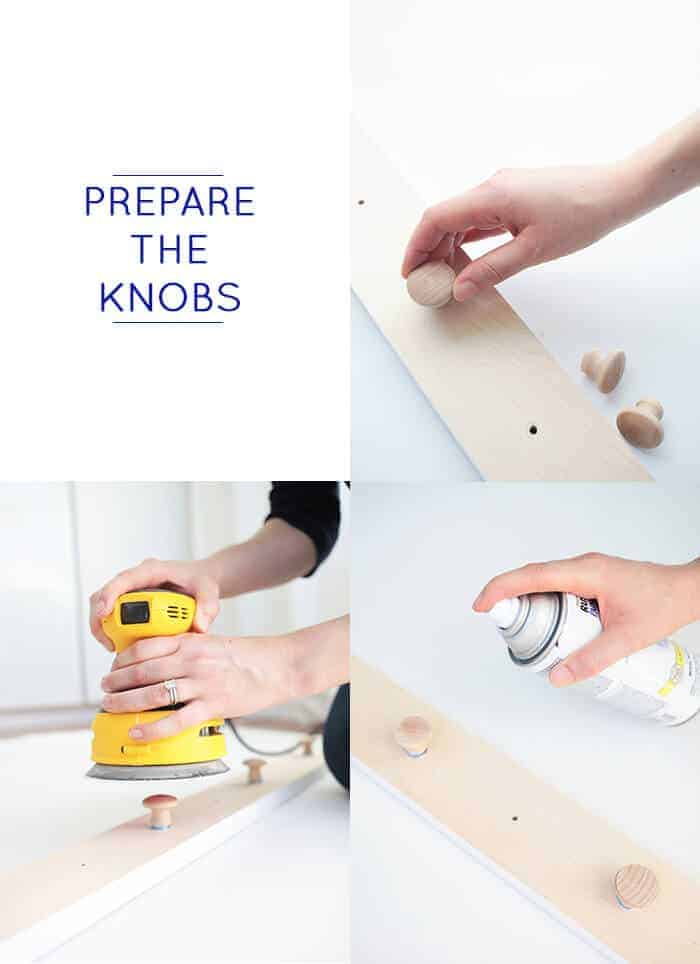
1. Start by taking your piece of scrap wood and pre-drilling holes all the way through, leaving about four inches between each hole. Insert the screws through the holes and twist your knobs onto the screws. This ensures your knobs will stay steady, rather than rolling all over the place while you’re sanding, spray painting and adhering the copper sheet.
2. Attach your 60 grit sandpaper to your palm sander. Set the board with knobs attached on a flat surface. Hold the board steady while you sand each knob with the palm sander. It’s important to apply pressure in a steady downward fashion (if you hold the sander at an angle, the face of the finished knob will be angled instead of flat. I messed up one knob in this way, but then I got the hang of it and the rest were easy!).
3. With the knobs still secured to the board, spray them with a first coat of spray paint. It’s much easier to paint them while still attached to the board to avoid fingerprints in the paint. Wait for them to dry, then do a second coat of paint.
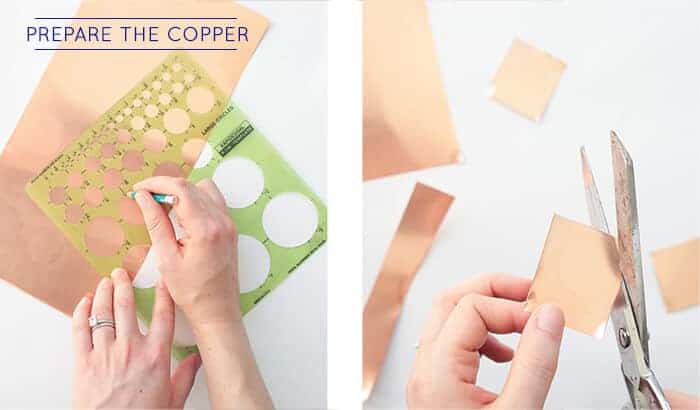
4. While the paint is drying on the knobs, start prepping your copper sheet. I had a circle template with a circle the exact size of the face of my knobs, so I used that. If you don’t have this tool, just trace one of your knobs onto the copper.
5. Once you’ve lightly traced the circles onto the copper, cut them out with scissors. 5 Mil copper is thin enough to cut easily with scissors, but thick enough that it doesn’t crumple to bits like copper foil. Still, be careful when cutting it because it can bend and pucker a little. You might also want to wear gloves because the edges of the copper can be sharp.
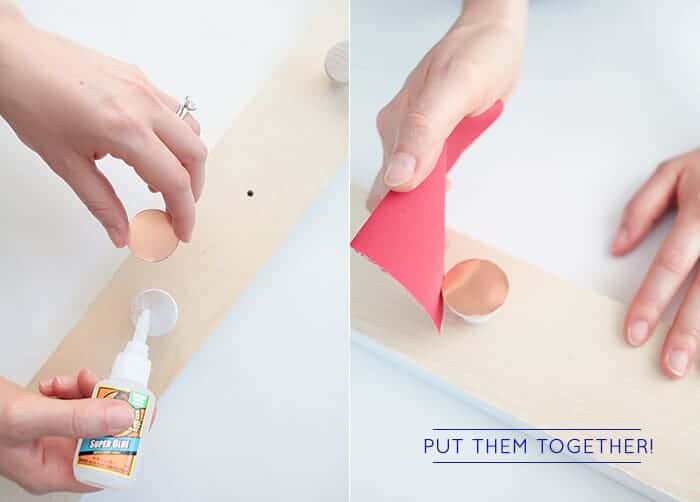
6. Once the paint on the knobs is fully dry, apply super glue to the face of the knob and center one of the copper circles on top. Hold it in place so the glue can set.
7. When the glue has fully dried, take your 220 grit sand paper and lightly sand the edges of the copper. This will sand the copper totally flush with the edge of the knob and soften any sharp edges the copper might have had.
8. Lastly, install the knobs on your cabinet or piece of furniture and enjoy that pretty metallic shine!
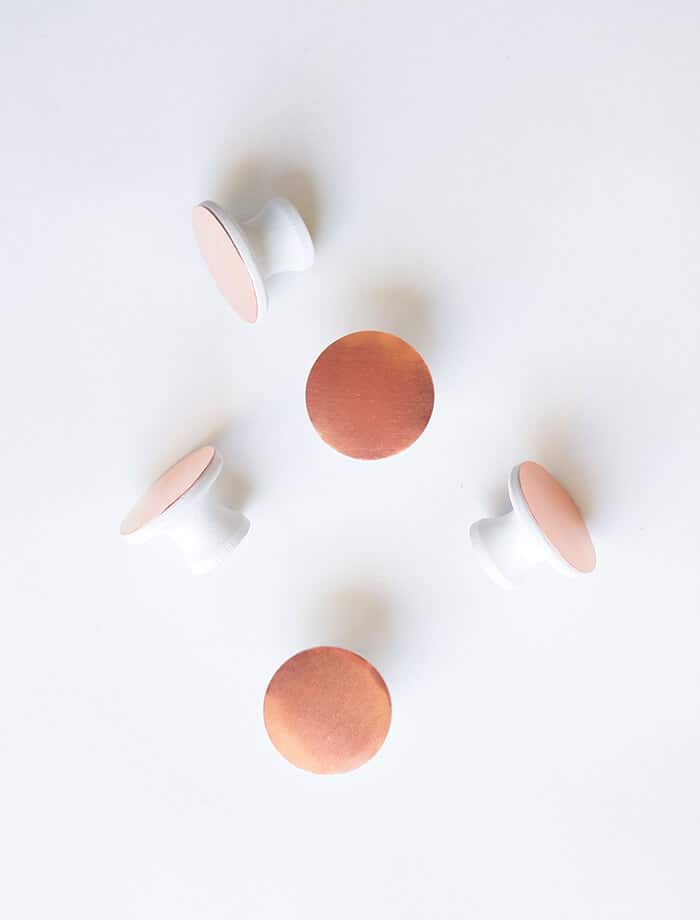
Thank you, Sam. Of course when we moved I was dying to take these and hoard them but my stupid landlord (the one that wouldn’t let me redo the kitchen AT NO COST TO HIM) would have subtracted like $1400 from our deposit for new knobs, so these bad boys are still there. So I’ll hoard these photos instead.
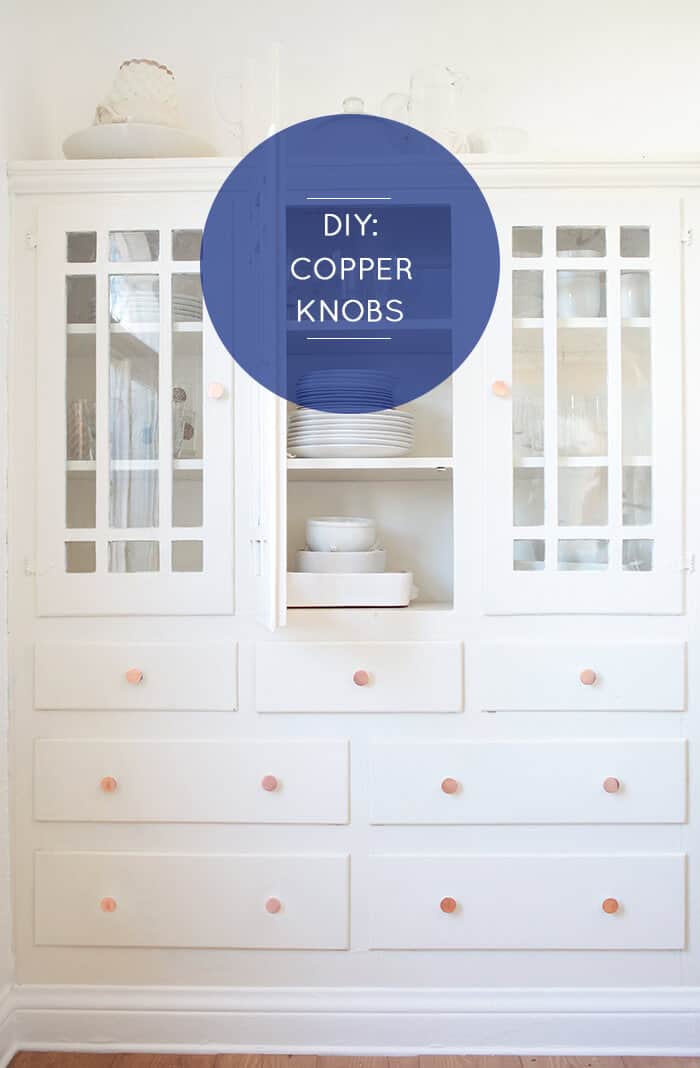
Go for it, folks. Re-knob your house and your face. Copper plating is my new favorite thing …
To see other customizing posts go here.